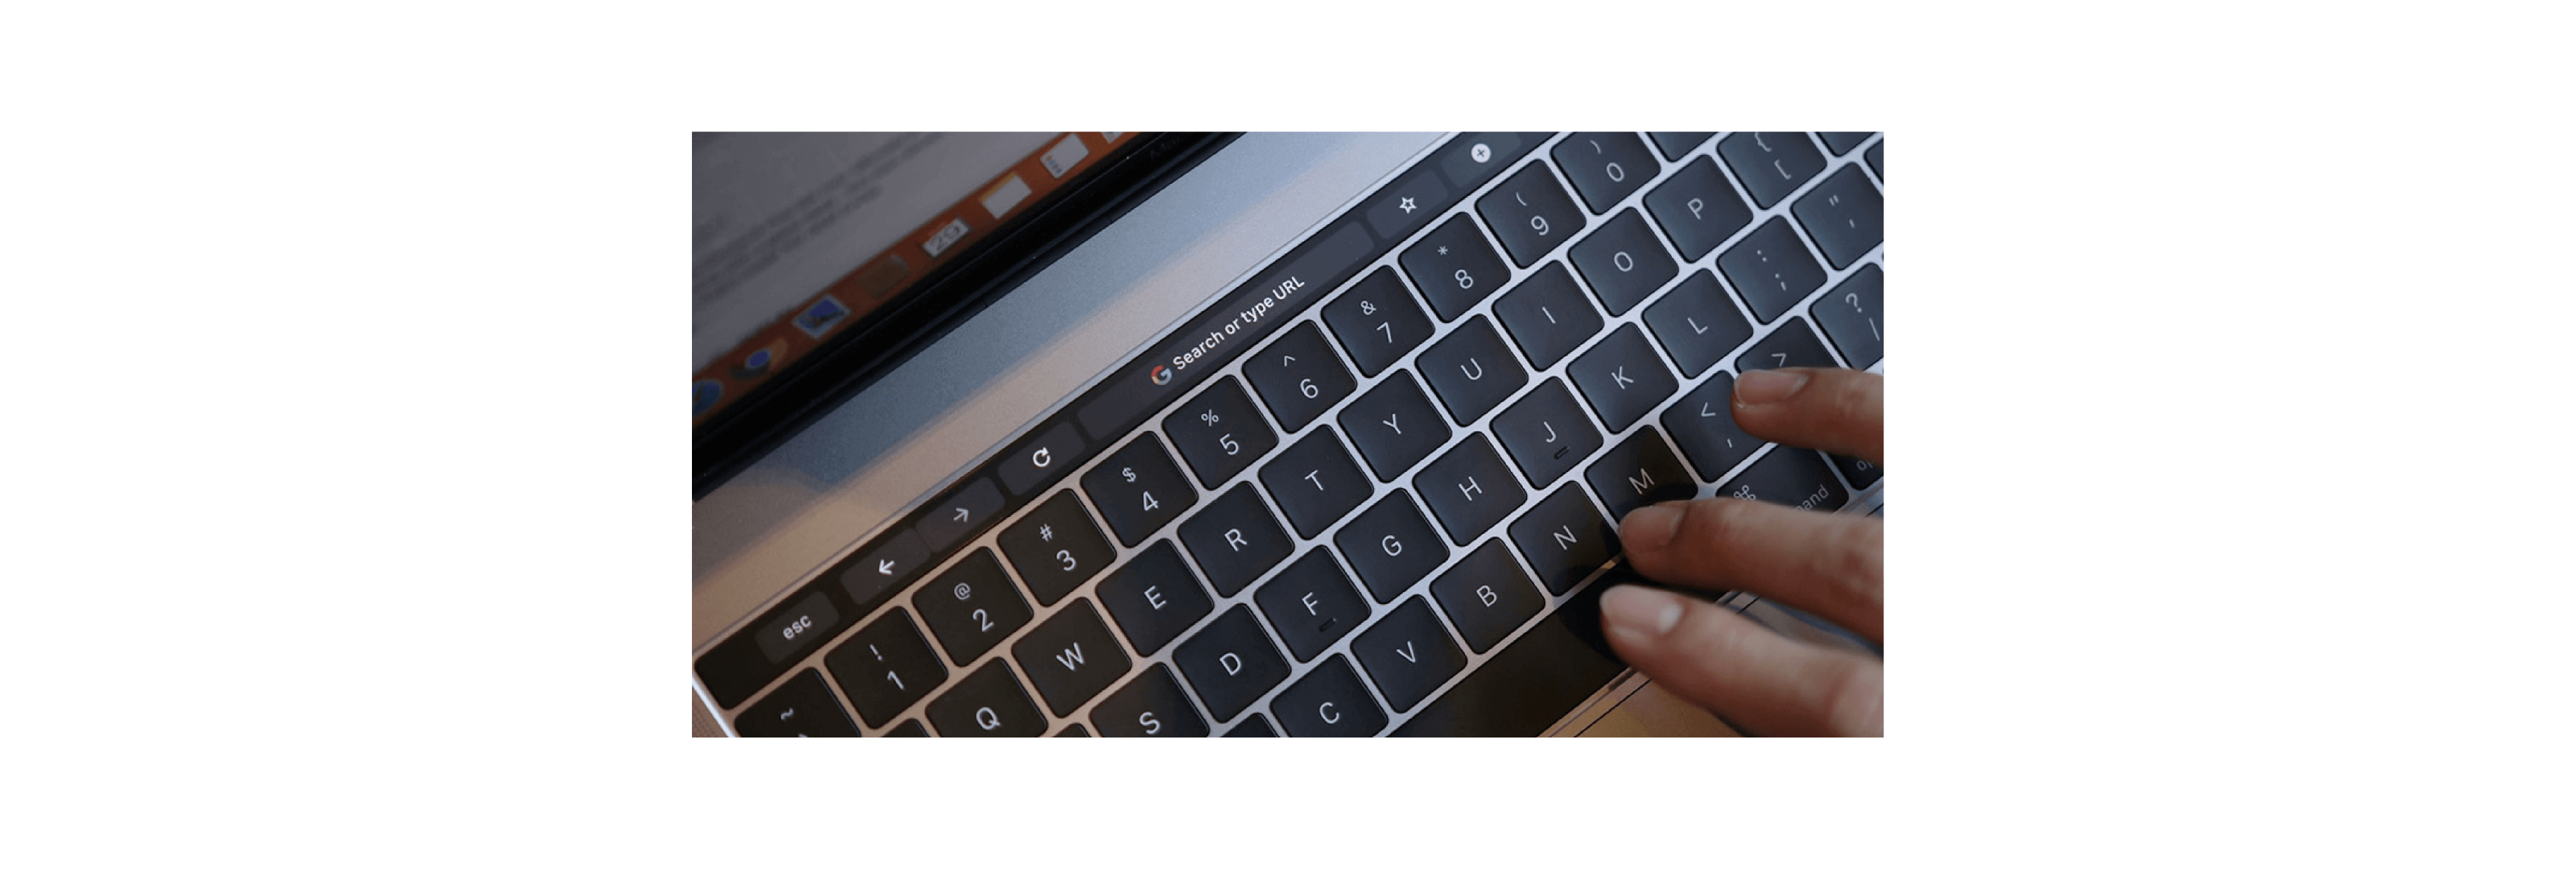
If you like the Control Strip, but don't like how it is set up, you can add or remove tools, and even rearrange them in a different order on the Touch Bar. You can find the Keyboard settings by searching in Spotlight, or manually access them via System Preferences.
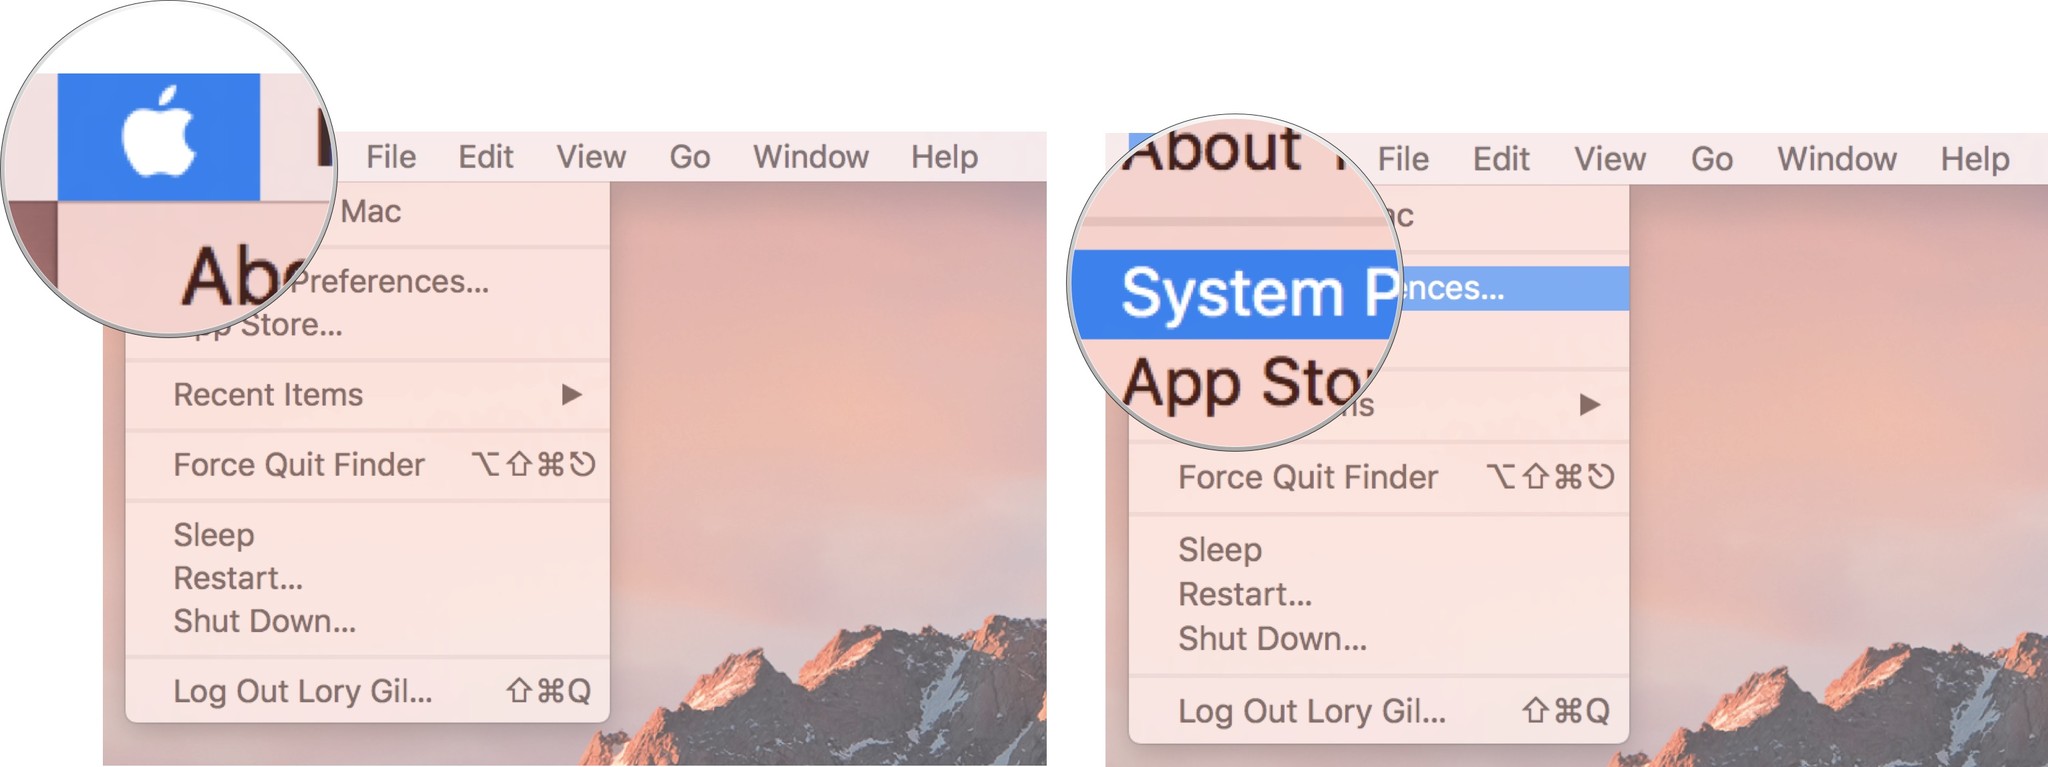
- Click on the Apple menu icon in the upper left corner of the screen.
-
Click on System Preferences in the drop down menu.
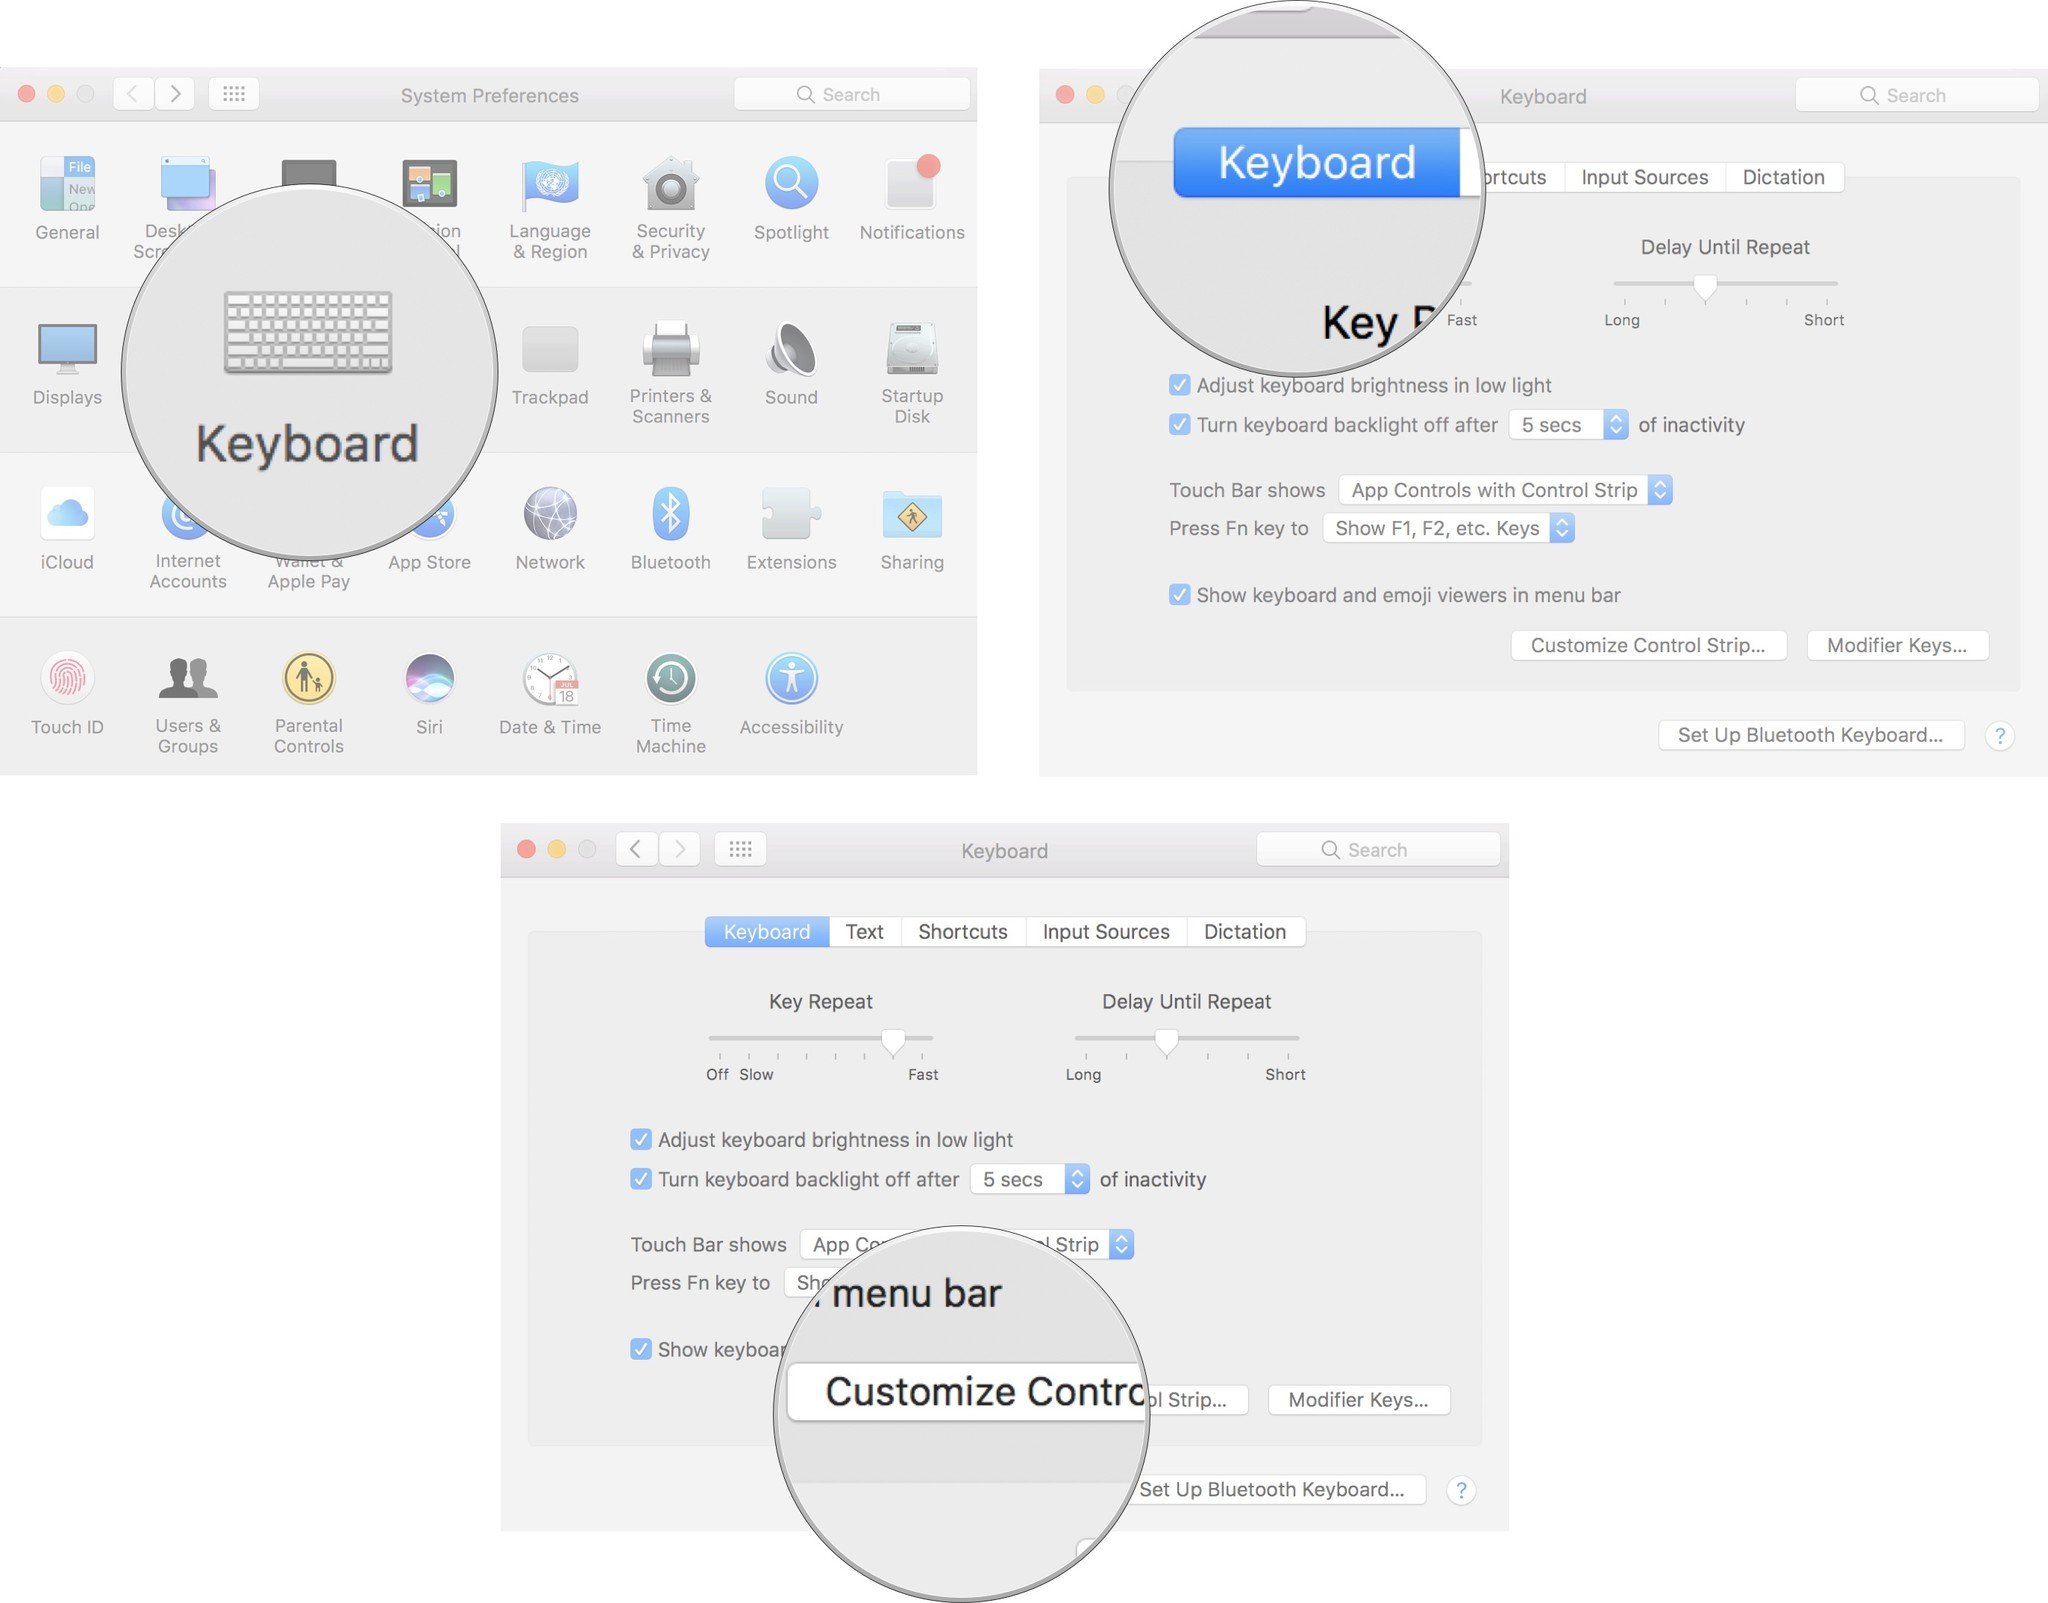
- Click on Keyboard.
- Click on the Keyboard tab.
-
Click on Customize Control Strip
Your screen will blur and the customization panel will appear. The buttons on the Touch Bar will also enter jiggly mode.
-
To customize the four tools in the collapsed Control Strip, tap the Collapsebutton (>) at the far left of the Touch Bar.
-
To customize the full control strip, tap the Expand button (<) directly to the left of the four tools in collapsed mode.
-
Drag a tool from the screen and into the Touch Bar to add it to the Control Strip.
Even though the Touch Bar is not attached to the screen, it will appear as though you have crossed a barrier with the tool. Drop it into the Touch Bar.
-
Move the cursor down into the Touch Bar and select a tool to remove it from the Control Strip.
You will notice that, as you move your cursor above the tools, they light up.

You can either drag the tool into the Trash can on the far left of the Touch Bar, or drag it upward, back into the tool panel on the screen to remove it.

-
Select a tool on the Controls Strip and drag it to a new location on the Touch bar to rearrange the order.
-
Click Done when you are finished.
