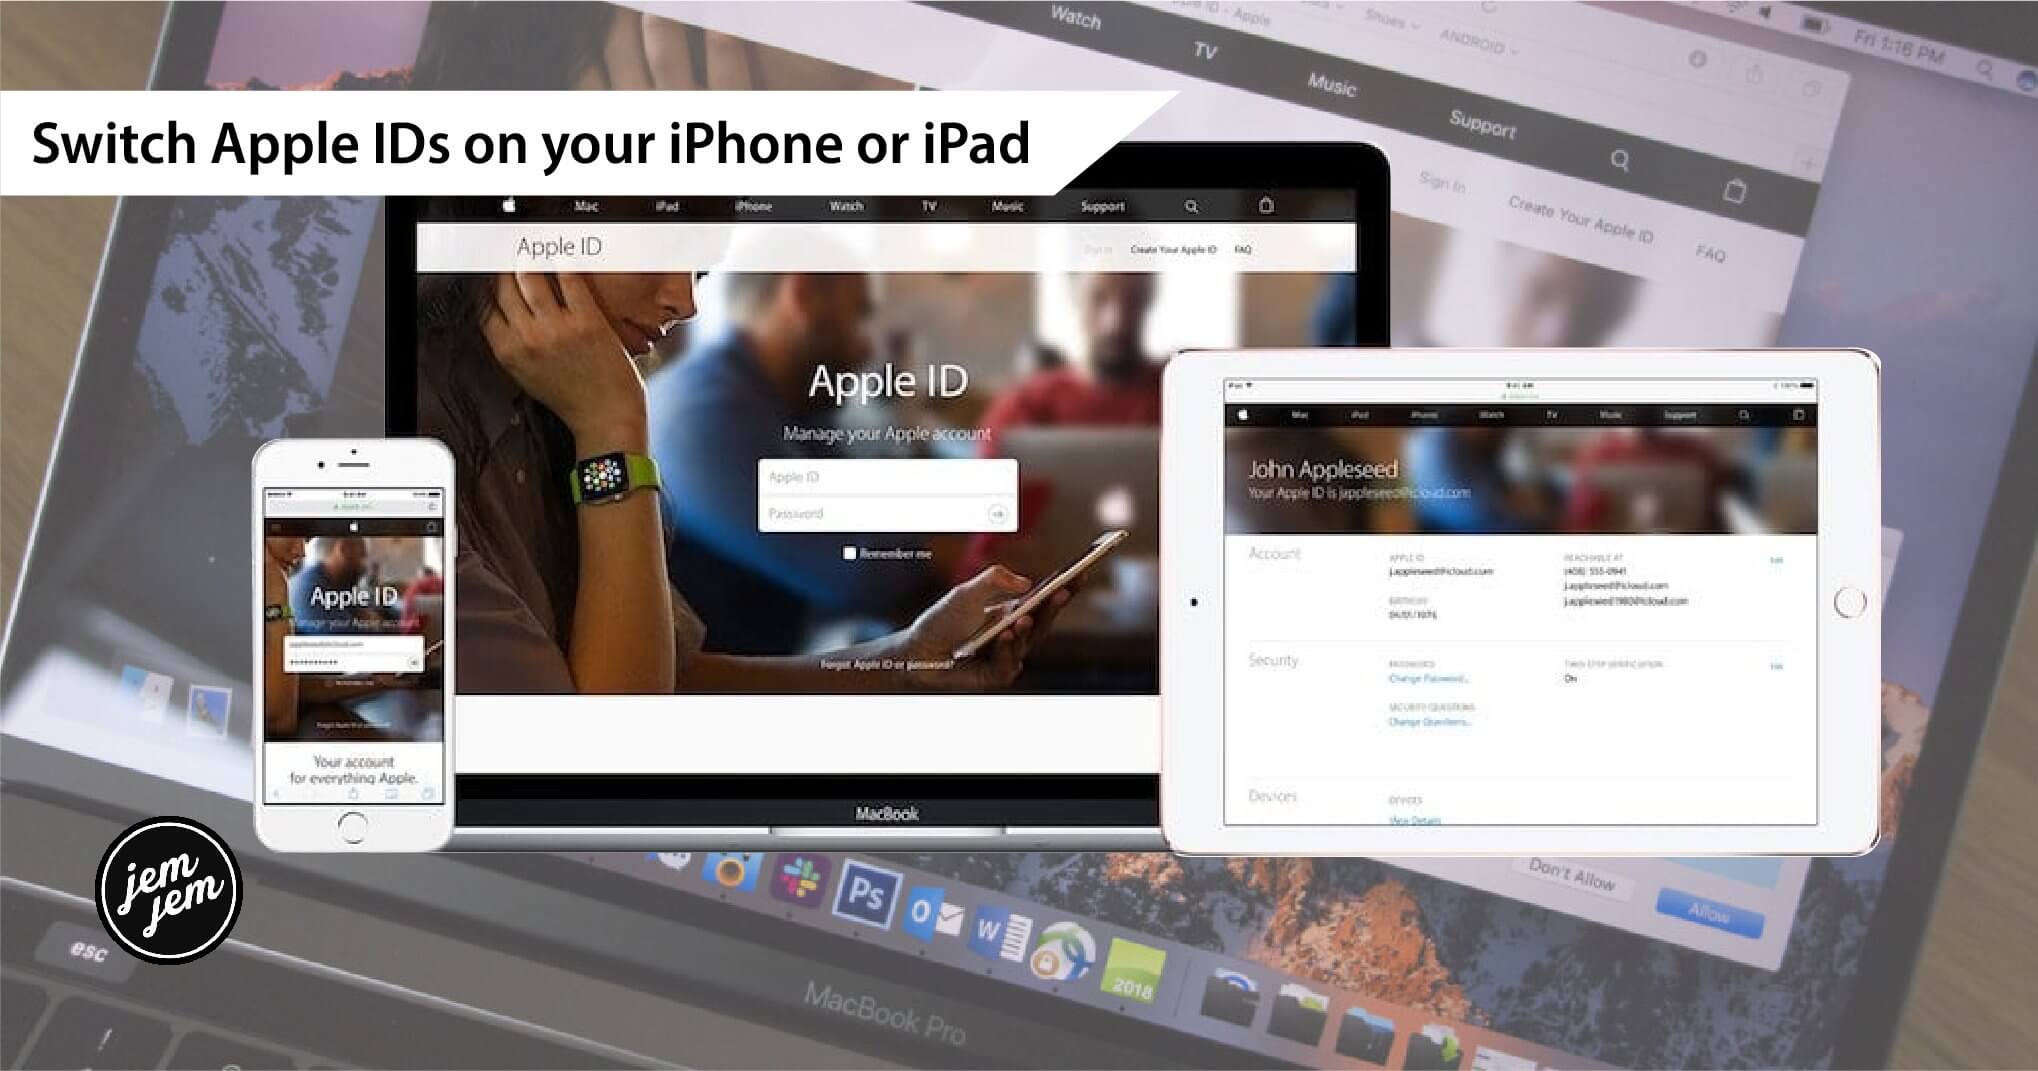
Your Apple ID is what connects you to all of the content in the Apple ecosystem — your Apple Music, your apps, your audiobooks, your podcast subscriptions, and everything you store and back up in iCloud. There are, on some occasions, reasons why you might want to sign out of one Apple ID and into another. Whatever your reason, I'm here to help.
This guide is for switching the Apple ID signed in to your iPhone or iPad. If you actually want to change your Apple ID, you should check out our guide to managing your Apple ID.
What happens to the content when you switch Apple IDs
Depending on whether you keep content on your iPhone or iPad or erase it, some of your data will stay on your iPhone, even after you switch. For example, contacts, photos, and calendar events that are on your iPhone (and not only in iCloud) will remain. Apps, music, books, and podcast subscriptions will also stay on your iPhone, but updating them will be a problem if you're signed in to a different iTunes or App Store account than the one you purchased them on.
When signing in to a different Apple ID, you'll be able to merge the content on your iPhone with the iCloud data associated with the other Apple ID. So, if you signed out of a work Apple ID and want to keep your work contacts on the iPhone, save them to your iPhone and then merge them when you sign in to your personal Apple ID.
Step 1: Sign out of your current Apple ID
- Launch the Settings app on your iPhone or iPad.
- Tap your Apple ID banner at the top of the screen.
-
Scroll to the bottom and tap Sign Out.

- Tap Sign out of iCloud if you have different accounts for iCloud and the iTunes and App Stores. Otherwise, proceed to Step 5.
- Enter the password associated with your Apple ID.
-
Tap Turn Off.

- Turn on the category for any data you want to save locally on your iPhone. Remember, when you switch accounts, the data on your iPhone will merge with the new Apple ID data.
- Tap Sign Out.
-
Tap Sign out again to confirm that you want to sign out.

Step 2: Sign in with a different Apple ID
Now you can sign in to your iPhone or iPad with a different Apple ID.
- Launch the Settings app on your iPhone or iPad.
-
Tap Sign in to your iPhone (or iPad).

- Tap Email and enter the email address associated with the different Apple ID.
- Enter the Password associated with the different Apple ID.
-
Tap Merge if you want to merge the data on your iPhone with the iCloud account associated with the different Apple ID. Tap Don't Merge if you don't want the content on the iPhone uploaded to iCloud in the different Apple ID's account.

Step 3: Add a second Apple ID
If you use multiple Apple IDs, such as having one for personal use and the other for work, then you'll be glad to know that you can actually use more than one Apple ID on your device for things like email, contacts, notes, and more. Here's how to add that:
- Launch Settings on your iPhone or iPad.
-
Select Passwords and Accounts.

- Tap on Add Account.
-
Pick iCloud from the available options.

- Type in your Apple ID email, then tap on Next.
- Type in your password, then tap on Next.
- After verifying your information, select the services that you want to turn on.
Adding a second Apple ID on iOS 14
Apple switched up the placement of some settings in iOS 14. If you are currently running a beta of iOS 14, here's how to add a secondary Apple ID account on your device.
- Launch Settings.
- Scroll down and select one of the following: Mail, Contacts, Calendar, Notes, or Reminders.
-
Tap Accounts.

- Tap Add Account.
- Select iCloud.
- Type in your Apple ID email, then tap Next.
- Type in your password, then tap Next.
-
After verifying your info, select the services that you want to turn on.

On another note, it's highly recommended that you enable two-factor authentication on your Apple ID for an extra layer of security, especially if you use multiple accounts.
Buy used, save big
jemjem makes it safe and easy to save money buying gently used technology for home and family.